Roof Leak Repair: When to DIY vs. When to Hire a Pro
A roof is one of the most important parts of any house. That’s why it could be such a headache when you start experiencing problems with it.
But the good news is that roofs are not hard to repair.
One of the most common roof issues that people encounter is roof leaks. The best course of action is to call a professional roofer to take care of the job. But there are also minor leaks that you can fix yourself.
Before we get into the steps on how to repair a roof leak, let’s first check your roof for signs of leaks and their common causes.
Signs of a Roof Leak
Be vigilant and look out for the signs of a roof leak to address the issue promptly. Here are some common signs that indicate a leaky roof:
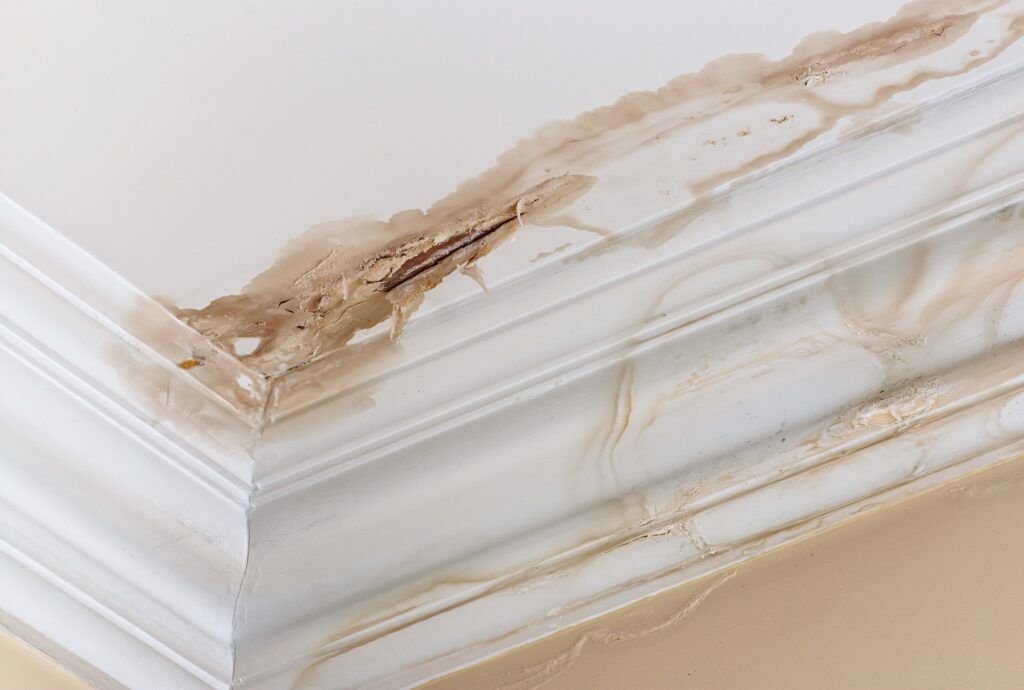
- Water stains. Look for brown or yellow water spots on your ceiling or walls. These discoloured patches and water stains may expand over time if the leak worsens.
- Dripping water. If you notice water dripping from your ceiling or walls, it is a clear indication of a roof leak. This should be addressed immediately to prevent further damage to your property.
- Mould or mildew growth. Excessive moisture caused by a roof leak can cause mould and mildew to grow. Keep an eye out for these on your walls, ceilings, or even in your attic.
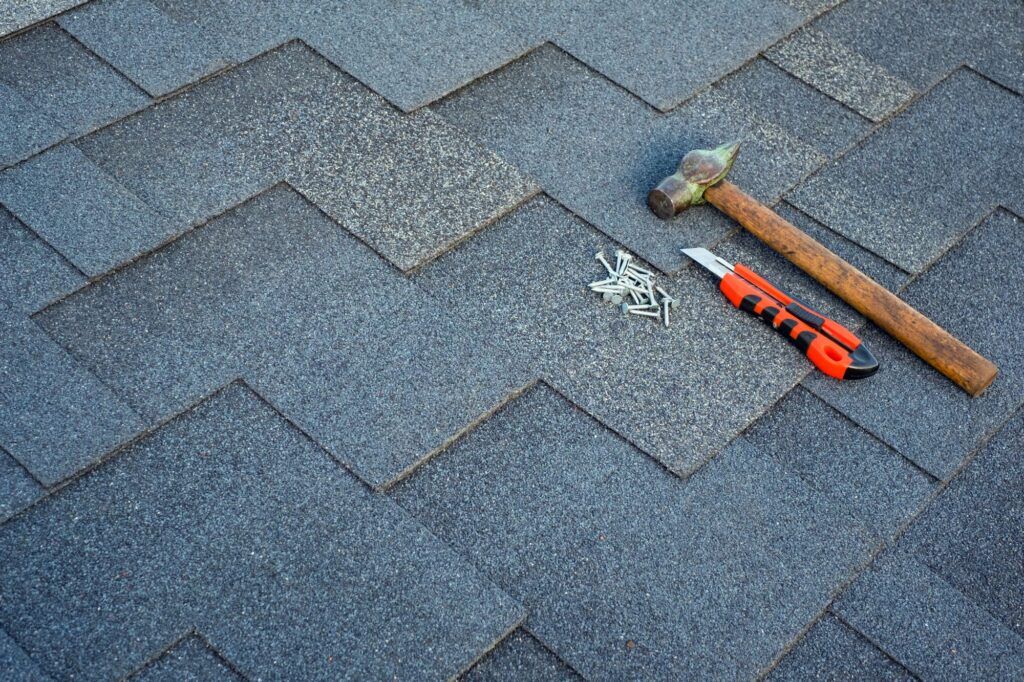
- Damaged or missing shingles. Inspect your roof for any damaged, cracked, or missing shingles. These can create openings for water to seep through and cause leaks.
- Sagging roof. A roof that appears to be sagging or dipping in certain areas may indicate a structural issue caused by water damage. This is a serious sign and should be addressed by a professional immediately.
- Peeling paint or wallpaper. Moisture from a roof leak can cause paint or wallpaper to peel or bubble. If you notice these signs, it is likely that there is water intrusion from your roof.
- Increased energy bills. A sudden increase in your energy bills could be a result of a roof leak. When water enters your home, it can affect insulation, leading to higher heating or cooling costs.
These signs may not always be visible, especially if the leak is small or in a hidden area. So, conduct regular inspections to identify the source of roof leaks before they cause significant damage.
Common Causes of Roof Leaks
Understanding the common causes of roof leaks can help you identify the source of the problem. It can also determine whether the damage is something you can fix yourself or if it requires the expertise of a professional.
Broken Shingles
Shingles are affordable roofing materials that are made to last. But then again, they also undergo normal wear and tear.
Curled or broken shingles are a common cause of roof leaks. Water and moisture can easily get under curling shingles and cause leaks to appear in your home.
With broken shingles, water and moisture usually get into the cracks and seep into your home.
Cracked Flashing
A roof flashing is installed in the areas where your roof surfaces meet. Its main purpose is to prevent water from getting under your roof and into your home.
As it ages over time, your roof flashing can start to experience cracks. And as you’ve probably guessed, water can easily get into these cracks and start causing leaks to appear all around your home.
Caulking or Loose Nails
Caulking works as a sealant for different types of surfaces. These are used on your roof to make sure that no moisture gets into the areas where a nail or fastener has been put in place.
But sometimes, the caulking comes off or causes a gap in your roof, which then becomes the reason for leaks.
Loose nails can also cause leaks in the same way. Roofing nails or fasteners that haven’t been installed properly can also come off and become loose over time, causing water to get under them.
Dirty or Clogged Gutters
When there are extreme weather conditions like hurricanes or tornadoes, debris can get into your gutters and clog them. In some cases, strong winds also bring debris onto your gutters.
When the rainwater cannot easily flow off your roof and into your gutter, it will find another way. It can get into the cracks in your roof.
Or it could also stay long enough on your roof to cause it to give out. This, in turn, can cause bigger and pricier problems in your home.
Damaged Roof Vents
Roof vents are designed to allow air to circulate in your attic. They prevent moisture buildup and potential damage to your roof.
If the vents become damaged or clogged, it can lead to leaks.
Depending on the extent of the damage, you may be able to repair or replace the vents yourself. But if you’re unsure of how to properly install or seal the vents, it’s best to consult with a professional roofer.
DIY Roof Leak Repair Techniques
If you’re a handy homeowner looking to save some money, DIY roof leak repair techniques may be worth considering. However, it’s important to assess the severity of the leak and your own skill level before attempting any repairs. Here are a few DIY techniques to consider:
1. Find the Leak
The first step to fixing a leaky roof is to find where the problem stems from.
You don’t have to mark the exact spot where it is. Just have a clear idea of where it would be on your roof.
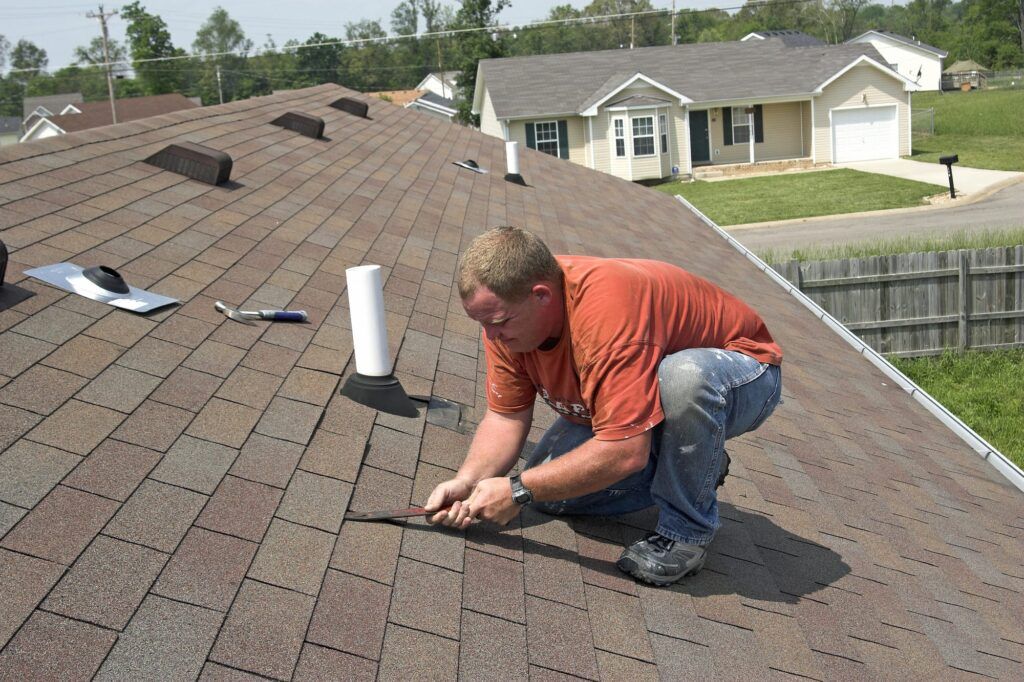
2. Inspect the Roof
After taking note of the location of the leak, go on your roof and inspect it. Check the area where you suspect the leak comes from and find out why it’s causing such a problem.
If you have pipes, vents, or chimneys around that area, they’re most likely the cause of your leaky roof.
3. Clean the Area
If the problem isn’t too big, you can go ahead and take on the minor repairs by yourself. Just make sure you understand how to go about it.
Regardless of the type of problem, always clean the damaged area first.
- Patching small leaks: Remove any debris or loose shingles.
- Replacing damaged shingles: Lift the edges of the shingles. Then, carefully pry out the nails.
- Fixing flashing issues: Remove the old flashing and clean the area.
4. Seal the Cracks or Holes
Once you’ve removed the shingles or flashing, seal the small cracks or holes where the water is getting in from.
Use a caulk gun, waterproof sealant, or roofing cement. These will cover the problem areas and make sure they’re properly sealed.
5. Install the New Material
Once you’ve sealed the cracks or holes, it’s time to install the new flashing or roofing material.
This works much easier with shingle roofs. Why? You’ll only have to think about the problem area and not the entire roof.
Make sure everything is secure and properly installed to avoid further problems.
When to Hire a Professional for Roof Leak Repair

While you can DIY minor roof repairs, there are still instances where it’s better to call in a professional roofing contractor. Consider the following scenarios:
Annual Inspections
The key to a long-lasting roof is regular maintenance. Have your roof inspected by a professional roofer at least once a year to make sure your roof is in its best condition.
Inspections done by professionals also help see problems that your roof might have. And catching these early on lets you address the minor issues before they require more expensive repairs.
Extensive Damage
If the leak is widespread or the damage is significant, it’s best to hire a professional.
They have the expertise and equipment to assess the full extent of the roof damage. As such, they can provide appropriate repairs.
Safety Concerns
Working on a roof can be dangerous, especially for those without experience or proper safety equipment.
If you’re uncomfortable with heights or lack the necessary safety gear, it’s safer to leave the repairs to a professional.
- Chimney problems. Repairing a chimney from leaking isn’t as easy as it sounds. A major problem like this should always be handled by professionals.
- Gas vent issues. You’ll need the experts to work on your roof vents. This is to make sure harmful gases like carbon monoxide don’t get into your home.
Reroofing
A re-roofing job is also best left to the professionals. While you can DIY partial shingle reroofing, it wouldn’t be as easy with other roof types.
The same applies to a full roof replacement or partial reroofing on a larger scale.
Warranty Concerns
Attempting DIY repairs may void any existing warranties on your roof. If your roof is still under warranty, it’s best to consult with a professional to avoid any potential issues.
Cost Considerations for DIY vs. Hiring a Pro for Roof Leak Repairs
Should you attempt to fix the leak yourself or contact a roof contractor for repairs? Let’s weigh the cost considerations for both options.
| DIY Roof Leak Repair | Hiring a Professional | |
| Labour Costs | None | Around $25–$30 per hour |
| Materials and Tools | Need to buy necessary equipment; costs can add up quickly | Usually covered in the quote; roofing contractors already have specialized equipment |
| Time and Effort | Usually takes several days to a week, depending on the scale | Can be done in a day or two, also depending on the scale |
| Risk of Mistakes | High; repair mistakes can lead to further damage | Low; expertise and quality of work come with the labour costs |
| Warranty and Insurance | No | Yes |
Ultimately, the decision between DIY and hiring a professional for roof leak repairs depends on your:
- Budget
- Level of expertise
- Available time
- Complexity of the repair
It’s important to weigh the cost considerations and assess the risks involved. These can help you make an informed decision that best suits your needs.
Preventing Future Roof Leaks
Preventing future roof leaks is an important aspect of roof maintenance. It can save you time, money, and headaches in the long run. While it may be tempting to only focus on fixing the current leak, taking proactive steps to prevent future leaks is crucial.
- Conduct regular inspections. Look for signs of wear and tear, damaged or missing shingles, and clogged gutters.
- Keep gutters clean. Ensure that your gutters are regularly cleaned and free from debris such as leaves, twigs, and dirt.
- Trim overhanging branches. Trim back any branches that are in close proximity to your roof. These can cause damage to your shingles or create entry points for water.
- Maintain proper attic ventilation. Ensure that your attic allows for proper airflow to prevent excess moisture. Poor ventilation can cause roof materials to deteriorate over time.
- Remove snow and debris. Use a roof rake or hire a professional to safely remove snow or debris from your roof. The weight of these can put excess stress on your roof, leading to leaks or even structural damage.
Navigating Roof Repairs
Roof repairs are a tricky thing to handle, especially if you don’t have a background in this type of handiwork.
To recap, here’s how to repair a roof leak by yourself:
- Find out where the leak is coming from.
- Climb up your roof and inspect the area where you suspect the leak is coming from.
- Clean the area and remove the damaged shingles or flashing.
- Seal the cracks or holes with roofing cement, waterproof sealant, or caulking gun.
- Install the new flashing or roofing material once you’ve covered all the cracks or holes.
When in doubt about whether you can take on a roof repair by yourself or not, remember that it’s always safer to hire a professional roofing contractor.
We at Fortress Roofing are always ready to help you with all your roofing concerns. Get in touch with us today so we can discuss your roofing problem and address it as soon as possible.


