How to Install a Roof Vent in 5 Easy Steps
A roof vent is important in saving energy for your home. With proper ventilation, you can make sure that your HVAC system works in the most efficient way.
It also helps prevent moisture from building up in your attic. Roof vents can protect your home from leaks, mold, and ice dams. It also helps make your roof last longer and stay more durable.
And the best things about it? A roof vent won’t cost you much. And you can take on the project alone and finish it in a day. Here are five easy steps on how to install a roof vent for your home.
How to Install a Roof Vent in 5 Easy Steps
Mark the Vent Spots
The first thing to do is to get in your attic and drive a nail through the roof. This would poke a hole directly through your roof and let you know where to install the vents. If your roof has shingles, it could also pop them off so that they stand out once you go up the roof later on.
Driving a nail from the inside of your attic makes sure you won’t be hitting anything important as you work on installing your vent. This is a way to avoid rafters or wires from being cut off.
If you’re planning to install multiple vents on your roof, this step could also make sure they’re evenly spaced. Check how many roof vents are necessary for proper ventilation in your home.
Plan them out well so that they work for your benefit. Roof vents are usually placed near the ridges of the roof. There are also ridge vents or turbine vents available. Make sure you do some research first or seek the advice of a roofing contractor.
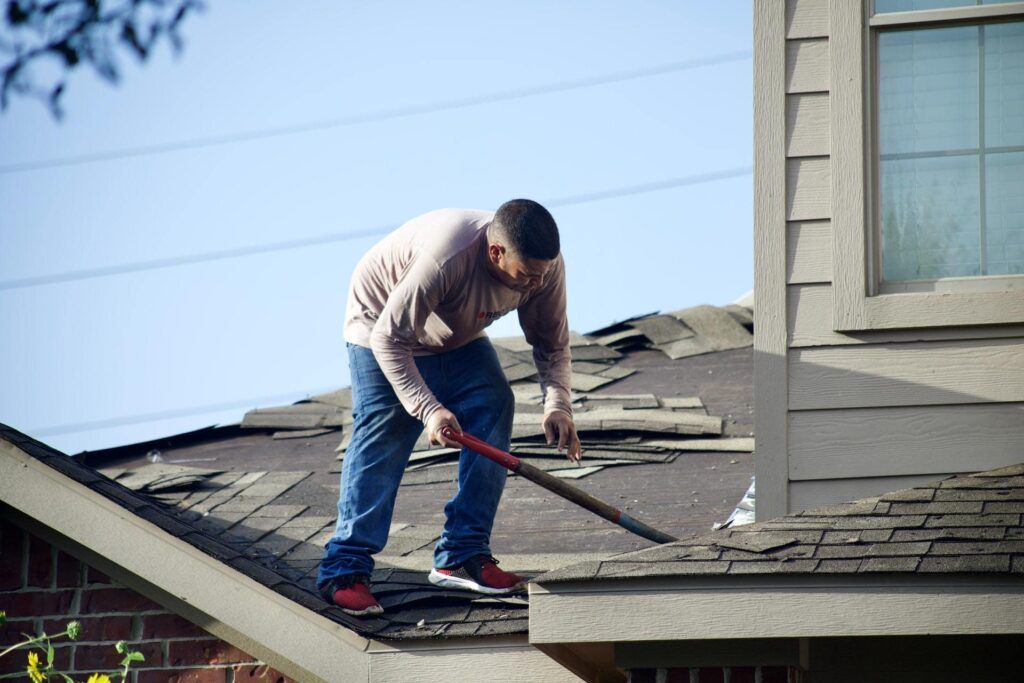
Remove the Affected Shingles
Once you’ve marked the spots for your roof vents, remove the shingles that would be affected.
Take off the nails or screws used to fasten them. Take your time in doing this step. Make sure not to damage the surrounding shingles.
After removing the affected shingles, set them aside. But don’t throw them away as you’ll be reattaching them later.
Drill a Hole Through the Roof
Drill a hole around the nail you used to mark the vent spots. Depending on the vent you’ll be using, you could either drill a circular or rectangular hole in your roof.
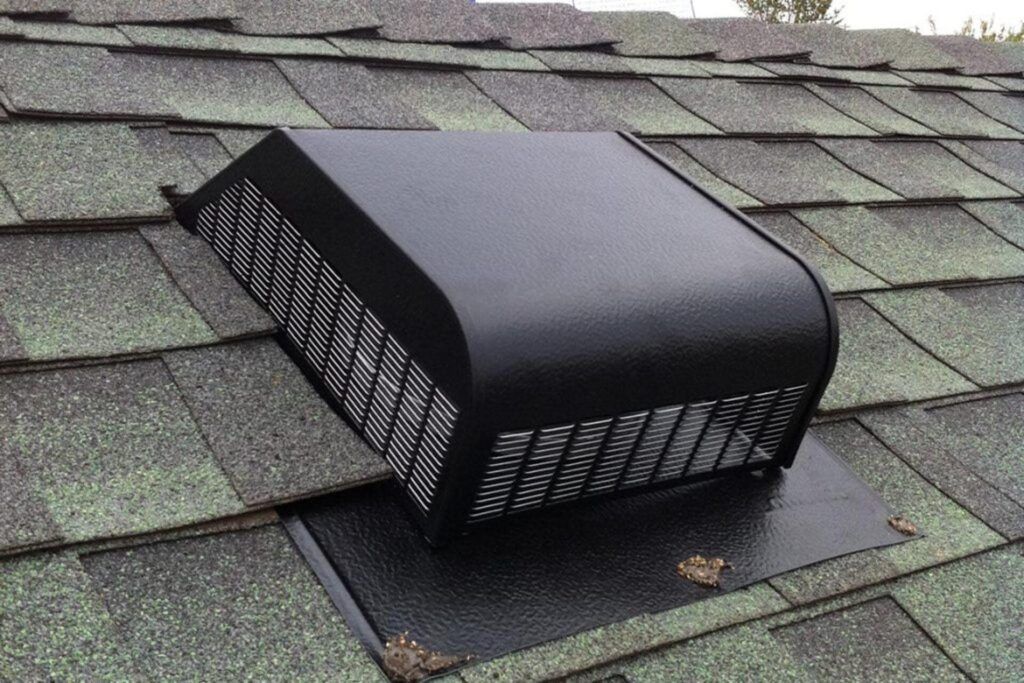
A static vent would be the easiest to DIY, though. It’s usually box-shaped and smaller than other vents, making it easier to handle. It’s a passive vent that works by pushing out the heat that rises in your home.
When drilling holes for a static vent, make sure you won’t hit any rafters. If placing vents above a rafter isn’t avoidable, make sure your saw blade only cuts through the roofing material.
It’s also important to wear goggles or any protective eye gear when doing this step. There will be a lot of sawdust, so be careful not to get any of it in your eyes.
Reinstall the Lower Shingles
After drilling the hole, you can position your roof vent in there. But don’t install it yet. This is just to mark where you’ll cut the old shingles.
The lower shingles have to go under the vent so that the water slides right off of them. Installing the shingles above the vent might cause moisture to build up under the vent and cause leaks.
You can use a ruler to make sure your measurements will be exact. Or you could also just eyeball it. Use a cutter to mark the width of the vent on the shingles. Just be careful not to cut through other shingles in your roof.
After cutting the shingles around the size of the vent, you can now use roofing tar or caulk to seal the old nail holes on your roof’s underlayment. This stops water from getting into the holes and causing you problems.
Then, you can now reinstall the shingles you cut. Fasten them with screws or nails. Make sure they are secure.
Install the Roof Vent
After reinstalling the lower shingles, you can now go ahead and install the roof vent. Learning how to install a roof vent cap the right way will make this project a breeze.
Put some roofing tar or caulk around the hole you made earlier. You could also caulk on the underside of the vent itself. Whichever is easier for you, just make sure you get a good amount of tar on there. This would secure the roof vent on the roof.
Once you’ve secured the vent in its place, it’s time to fasten them to your roof. Some vents come with holes so that you’ll know where to fasten them later on. But if you have a vent with no nail holes, the rule of thumb is to place about 4 to 6 nails around it.
After nailing down the vent, caulk around the nails just to make sure your roof stays waterproof. Then, you can reinstall the upper shingles as you did with the lower ones. Only this time, they stay on top of the roof vent. Once you’ve nailed down the upper shingles, you’re done!
Roof Vent Installation
Whether you’re reroofing or just making sure your home is well-ventilated, installing a roof vent is an easy task that would surely give you a good return on your investment. Proper ventilation paired with good insulation will ensure your energy bills won’t go through the roof (pun intended).
Again, here are the steps to install a roof vent:
- Drive a nail through your roof to mark the spot for the vent.
- Remove the shingles that would be affected by the vent. Set them aside for later.
- Drill a hole around the nail you marked the vent spot with. Make sure not to cut through any rafters.
- Reinstall the lower shingles. Make sure to caulk around old nail holes. Fasten the shingles properly.
- Install the roof vent with roofing tar and nails. A roof vent typically only needs around 4–6 nails to secure them on your roof.


