How to Insulate a Garage Roof
Insulation stops the flow of heat, sound, or electricity from going from one area to another. This helps keep the heat in your home during the winter and out your home during the summer.
Your garage is one of the most exposed areas in your home. It’s usually placed on the side of the house or detached from the home altogether. This means that outside air can get in your garage from its three or four exposed walls.
Some homes place a bedroom directly above a garage. If your garage doesn’t have proper insulation, heat could flow quickly through your home. Thus, your heating and cooling system consumes more energy to control the temperature in your home. This, in turn, could drive your electricity bills up by a lot.
Insulating your garage roof saves you a lot of energy. It’s easy and doesn’t cost much money to do so, and it's well worth hiring a roofing company to complete the job for you.
How to Insulate a Garage Roof in 5 Steps
Garage insulation can be finished within a day or two, depending on the size of the area you’re working with. It also depends on whether you’re working on it alone or have an assistant with you.
Here are the steps to garage roof insulation made simple.
Measure and Survey Your Area
The first thing to do, as with any building project, is to measure the area you’ll be working with. This allows you to compute how much insulation material you’ll need to cover your whole garage ceiling.
Rafters are the internal beams that form your roof’s structure. These are equally spaced apart so you won’t have to worry about measuring each one. You’ll need your rafters’ dimensions so that you could buy the right size of the insulation material.
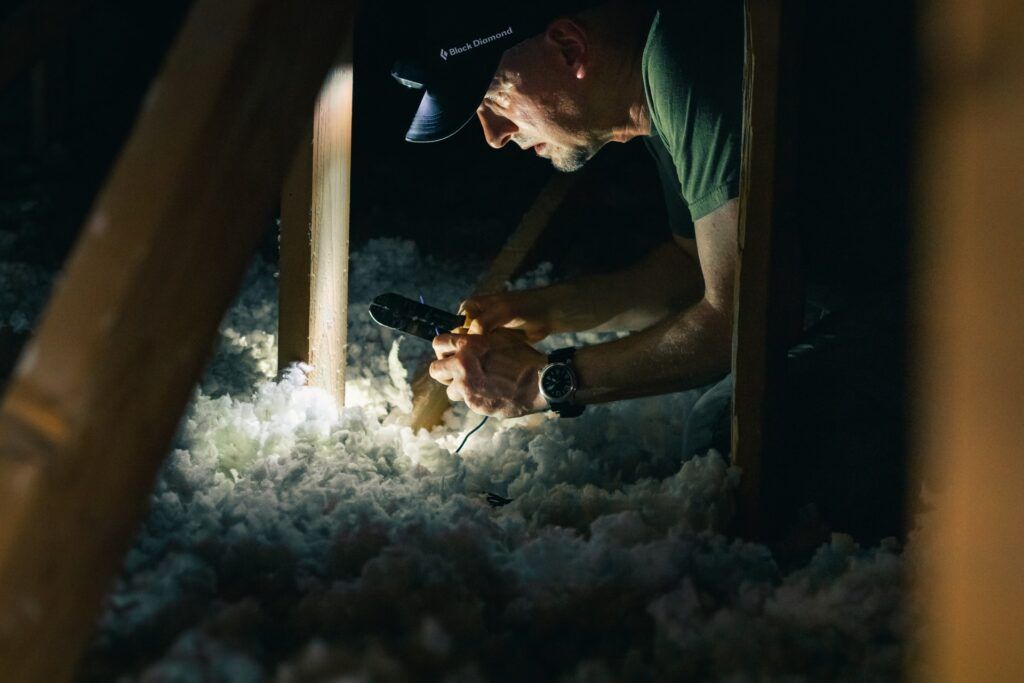
While you’re at it, also survey your garage ceiling and take note of electrical wires and lighting fixtures that you’ll have to work around. It’s important to allow proper ventilation around these to avoid electrical hazards.
Repair Damages
While assessing your area, you might have noticed some damages in your ceiling or roof.
Rafters may be prone to water damage. Make sure you won’t have water leaking into your garage, especially if you have a flat roof.
Check if all your rafters are in good condition and don’t need repairing. If there are any loose screws anywhere in them, hammer down these fasteners or replace them with new ones.
Prepare the Materials
Preparing the materials for your garage roof insulation isn’t just about buying what you need.
After buying the insulation materials, you’ll have to cut some of your baffles or fiberglass batts to fit your garage’s structure.
With the measurements you’ve noted earlier, cut the pieces accordingly. This will save you a lot of time later on when you start installing them in your ceiling.
Use a utility knife or scissors to cut through your materials. Remember to allow enough space around wires and light fixtures to avoid fire.
You’ll also need to wear a mask and gloves because fiberglass can irritate your skin. You might want to wear a long-sleeved shirt and goggles for more protection.
Install the Rafter Vents or Baffles
Rafter vents or baffles are usually made out of plastic, foam, cardboard, or polyvinyl chloride (PVC). There are aluminum and sheet metal baffles as well, but plastic is cheaper and easier for DIY roof insulations.
Rafter vents are placed on the sides of the garage’s roof. These direct the air upwards so that it exits the roof vents instead of settling inside the garage or flowing to other parts of the house.
Baffles can be fastened using a staple gun. The staples should be 8–10 inches apart for more security. It’s better to fasten rafter vents to the sides of the rafters, especially if you’re planning to add drywall later on.
Install the Insulation
Once the baffles are in place, you can now start installing the insulation.
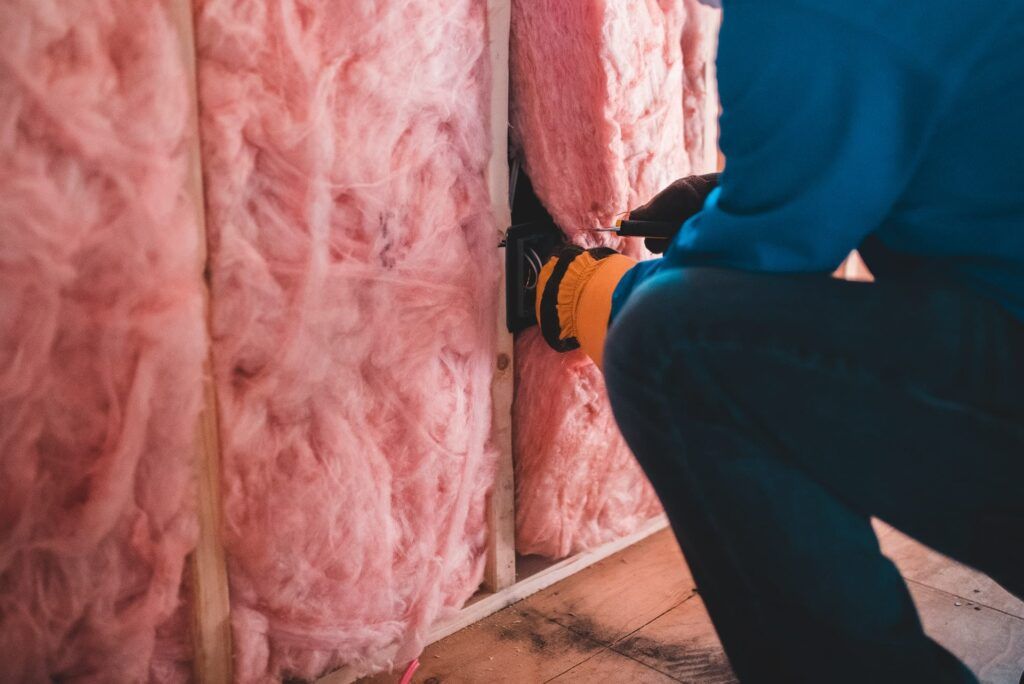
Fiberglass is the most commonly used material when it comes to insulation because it’s affordable and easy to install. However, it could irritate your skin. It’s also prone to moisture or fire when installed incorrectly.
Other insulation materials include rigid foam, cellulose, and spray foam. These have their own pros and cons, so make sure you do your research before deciding on the insulation material to use for your garage.
Like rafter vents, fiberglass batts can be fastened with a staple gun. Squeeze the fiberglass between your rafters. It would also be better to attach them to the sides of the rafters for a cleaner look.
(Optional) Install Drywall
You’re basically done after installing the insulation. But if you want a more finished look for your garage ceiling, you can choose to add drywall.
Drywall is made up of sheets or boards that are easy to install. It gives any room a cleaner and more attractive finish.
Drywall on a garage ceiling also gives it a clean finish. If you don’t want to see the underside of the insulation sheets when you look up, drywall is the way to go.
Benefits of Garage Insulation
One of the biggest benefits of garage insulation is its energy efficiency. Proper insulation allows you to maximize the use of the heating and cooling system in your home. This also saves you money on electricity bills. The less energy you use, the lower your bill would be.
Insulation also drowns out noise from inside the garage or outside the house. It muffles the sounds so that they don’t bother you as much.
If you’re also using your garage for other purposes than keeping your car, insulation helps regulate the temperature inside. It also protects your car from harsh weather conditions.
Garage Roof Insulation
A garage may be one of the most neglected rooms when building a house. It’s not given as much attention as, say, a bedroom or living room.
Being one of the most exposed areas in any home, insulating a garage should be given more importance. You might want to call in our Calgary roofers to insulate your garage for you.
But if you want to do it yourself to save money, here are the steps on how to insulate a garage roof:
- Measure the area of your garage ceiling. And while you’re at it, survey the area for wires and other fixtures that you’ll have to work around with.
- Check for loose screws in your rafters and fasten or replace them. See if there are other damages that need to be fixed before you start insulating.
- Prepare a tape measure, ladder, utility knife or scissors, staple gun, and staple wires to be used for baffles and fiberglass batts. You’d also want a mask, gloves, long-sleeved shirt, and goggles as fiberglass irritates the skin.
- Install the rafter vents to direct the outside air up to the roof vents and not into the house.
- Install your insulation sheets using a staple gun to the sides of the rafters.
- If you want a more finished look, add a drywall to your ceiling.
And while you’re on that project, you might also be interested in re-roofing your garage with shingles. Or if you have a flat roof, you might want to consider rubber roofing to keep it waterproof.


